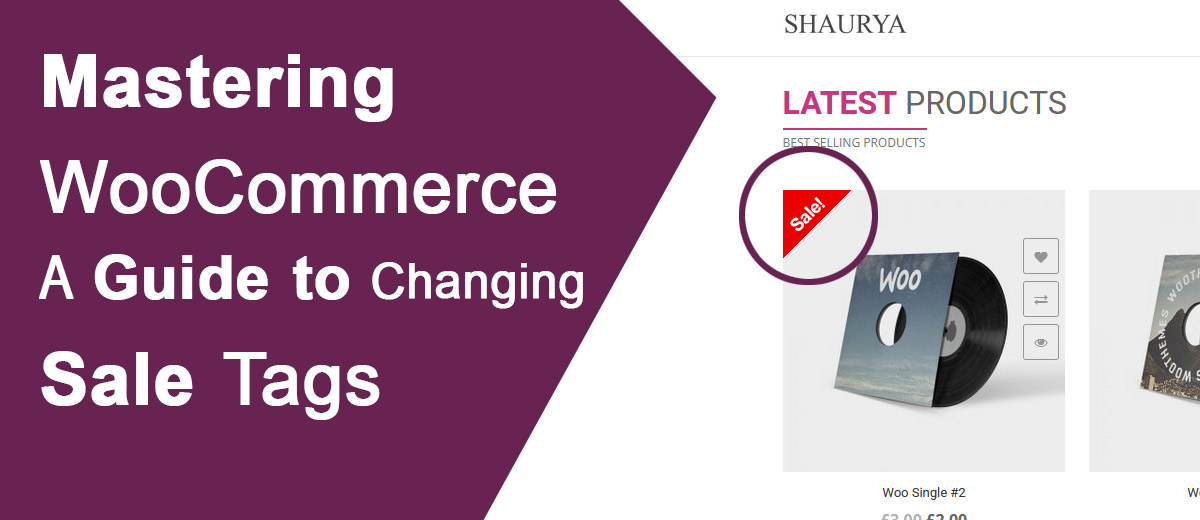
Understanding the Sale Tag in WooCommerce
The sale tag is a visual indicator that highlights products with discounted prices. By default, WooCommerce displays a simple “SALE” tag on products where the regular price is higher than the sale price. However, you might want to personalize this tag to better suit your store’s aesthetic or language preferences.
Changing the Sale Tag Text
To change the sale tag text in WooCommerce, follow these steps:
-
- Access Your WordPress Dashboard: Log in to your WordPress admin panel.
- Navigate to Theme Editor: In the left-hand menu, go to “Appearance” and select “Theme Editor.”
- Locate Your Theme’s Functions.php File: On the right side of the Theme Editor, find and click on the functions.php file. This file contains the functions and code snippets for your theme.
- Insert Code Snippet: Add the following code snippet to the functions.php file. This example changes the sale tag text to “Discount” instead of “Sale.”
function change_sale_text( $default ) {

return 'Discount';

}

add_filter( 'woocommerce_sale_flash', 'change_sale_text' );
- Update the File: Once you’ve added the code, click the “Update File” button to save your changes.
-
- Now, when you visit your WooCommerce store, the sale tag should display the updated text (“Discount” in this example) instead of the default “SALE”
Customizing Sale Tag Styles
If you want to go beyond just changing the text and customize the style of the sale tag, you can use custom CSS. Here’s a quick example to get you started:
-
-
-
- Access Your WordPress Dashboard: Log in to your WordPress admin panel.
- Navigate to Theme Customizer: Go to “Appearance” and select “Customize.”
- Go to Additional CSS: In the Customizer, find the “Additional CSS” option.
- Add Custom CSS: Insert the following CSS code to customize the sale tag style. You can modify the values to match your design preferences.
/* Change Sale Tag Background Color */

.onsale {

background-color: #ff0000;

}

/* Change Sale Tag Text Color */

.onsale, .onsale:after {

color: #ffffff;

}
-
-
-
-
- Publish Changes: Click the “Publish” button to apply your custom CSS.
-
With these steps, you’ve not only changed the sale tag text but also added a personal touch to its appearance.
Wrapping Up
Customizing the sale tag in WooCommerce allows you to create a unique and branded shopping experience for your customers. Whether you’re changing the text or adjusting the style, these simple steps empower you to tailor your online store to better align with your vision. Experiment with different variations until you achieve the desired look and feel for your WooCommerce shop.